


ND Filters & Long Exposure Photography: How to Control Light, Smooth Water and Master Motion

ND filters are essential tools for long-exposure photographers. They let you smooth flowing water, turn clouds into soft streaks, extend shutter speeds in daylight, and shoot wide open even under harsh sunlight. This practical, illustrated guide explains how ND filters work, how to choose the right one, and how to use them effectively in real-world situations.
What Is an ND Filter?
An ND (Neutral Density) filter is a piece of darkened optical glass that reduces the amount of light entering the lens without altering color. By cutting light evenly across the spectrum, ND filters allow you to extend shutter speeds or use wide apertures in bright conditions—making long exposures possible even in the middle of the day.
How ND Filters Work
ND filters are defined by their density—ND4, ND64, ND1000, ND32000, and so on. Each corresponds to a reduction in exposure measured in EV (stops). One stop equals a halving or doubling of light (for example, f/8 → f/11 or 1/60s → 1/125s).
| ND Value | Light Reduction | EV Reduction |
|---|---|---|
| ND2 | 1/2 of light | -1 EV |
| ND4 | 1/4 of light | -2 EV |
| ND8 | 1/8 of light | -3 EV |
| ND16 | 1/16 of light | -4 EV |
| ND32 | 1/32 of light | -5 EV |
| ND64 | 1/64 of light | -6 EV |
| ND128 | 1/128 of light | -7 EV |
| ND256 | 1/256 of light | -8 EV |
| ND512 | 1/512 of light | -9 EV |
| ND1000 | 1/1000 of light | -10 EV |
| ND32000 | 1/32000 of light | -15 EV |
Types of ND Filters
- Screw-in filters — the most common; they mount directly on the lens thread (77 mm, 82 mm, etc.).
- Magnetic filters — fast to attach and swap, ideal when alternating between densities.
- Square/rectangular filters — inserted into a holder; common in landscape kits, often paired with graduated filters.
Graduated ND Filters (GND): When You Need Them — and When You Don’t
GND (Graduated Neutral Density) filters help balance high-contrast scenes, such as a bright sky over a darker foreground—especially at sunrise and sunset.
- Soft grad — gentle transition for flat horizons.
- Hard grad — sharper transition for mountain ranges and defined horizons.
- Reverse grad — strongest density at the center; ideal for sunsets on the horizon line.
Screw-in GND filters have the gradient fixed in the center, which limits framing options. Square filters, on the other hand, let you adjust the height and angle of the gradient, offering much more flexibility.
However, modern sensors often make them optional. With a well-exposed RAW file and the dynamic range of current cameras, it’s often possible to recover highlights and darken the sky using Lightroom’s adaptive masks. This is a practical solution if you prefer traveling light, as square filters and holders are bulky and expensive.
Why Use an ND Filter?
- To extend shutter speeds in daylight for long-exposure effects.
- To blur moving elements such as water, clouds or crowds.
- To shoot wide open (e.g., f/1.8–f/2.8) in bright light without overexposing.
ND Filter Quality: Optical Issues, Color Casts & Coatings
ND filters vary greatly depending on brand and price. Budget filters (under €30) often suffer from optical flaws: uneven flatness, low-quality glass or acrylic, weak coatings. These defects can reduce sharpness, create internal reflections, or degrade micro-contrast—defeating the purpose of using high-end lenses.
Another frequent issue is color cast (blue, magenta, green). In RAW, you can correct it, but avoiding color shifts is better than fixing them after the fact.
Comparison reviews exist, but they are rarely exhaustive, brands multiply their ranges (Hoya being a good example), and some reviews may be biased or sponsored without disclosure.
Some manufacturers offer antistatic coatings, which are genuinely helpful. I once purchased a Hoya ND64 to shoot 2-minute exposures at sunset, but it arrived covered in dust and cleaning fibers stuck to the glass. I returned it and replaced it with a higher-end filter—demonstrating that build quality matters as much as density.
Stacking Multiple ND Filters: Good Idea or Not?
Stacking filters is technically possible—for example, combining an ND64 with an ND1000 gives roughly the same density as an ND32000. High-quality filters with multi-coating can maintain good optical performance when stacked.
However, stacking increases the risks of:
- vignetting, especially at wide angles,
- flare and ghosting from additional glass surfaces,
- color casts amplified by mixed coatings.
It can be a practical solution, but for critical work, a single high-density filter (ND1000 or ND32000) remains the most reliable option.
Filters I Use
I use 82 mm screw-in filters mounted on other lenses via 82–77 mm step-down rings. Slim frames help avoid vignetting when shooting wide with my Nikkor Z 14–30 mm f/4.
I previously used a Hoya ND1000 (77 mm), but it couldn’t exceed a 60-second exposure in bright daylight. I upgraded to a Nisi IR ND32000, which shows zero visible color cast.
For late-afternoon conditions—too bright to shoot without a filter, too dim for a −15 EV ND32000—I rely on an ND64.
Precautions
- DSLRs: cover the viewfinder to prevent light leaks.
- Mirrorless cameras: disable IBIS when on a tripod to prevent micro-movements.
- Use manual focus or disable AF to avoid refocusing during exposure.
- Clean the front element and the filter carefully—tiny dust spots can appear on smooth long-exposure areas.
- Use a sturdy tripod and trigger the shutter remotely or with a timer.
How to Use an ND Filter
- Measure exposure without the filter: set ISO, aperture and shutter speed first.
- Apply the ND correction: for example, an ND1000 (−10 EV) turns 1/30 s into 30 seconds.
- Use an exposure calculator app such as PhotoPills.
- Ensure tripod stability: avoid unstable surfaces and add ballast if needed.
How to Recreate a Long-Exposure Effect Without a Tripod
At Florence’s Accademia Gallery, I wanted to contrast Michelangelo’s David with the flowing movement of the crowd. With my tripod left at the cloakroom, I stood at the entrance of a side gallery, handheld.
I used a Canon 17 mm f/4 TS-E on a Nikon Z8 via adapter. Tilting upward preserved the verticals. Thanks to the Z8’s IBIS, I captured about fifty handheld frames between 1/8 s and 1 s.
In Lightroom, I selected seven 1-second exposures and opened them as layers in Photoshop. After auto-aligning the layers, I converted them into a Smart Object and applied Stack Mode → Mean.
Back in Lightroom, I converted the result to black and white to remove color distractions and emphasize the merged motion. The final image shows a diffuse “crowd haze,” while David and one visitor remain sharply defined.
 Standing still – David by Michelangelo, Accademia Gallery, Florence – Photo © Sebastien Desnoulez
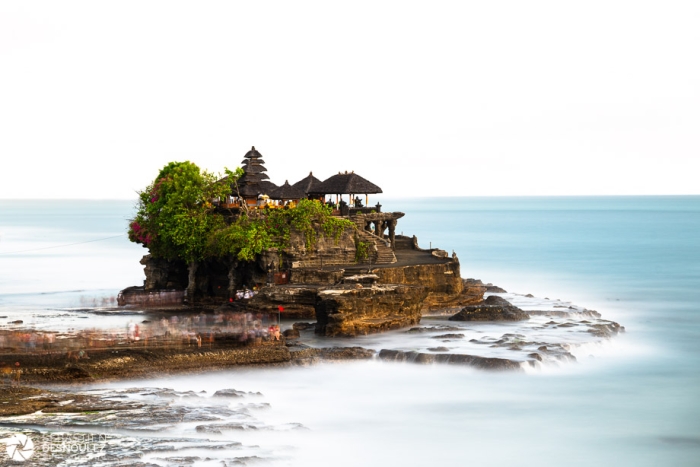
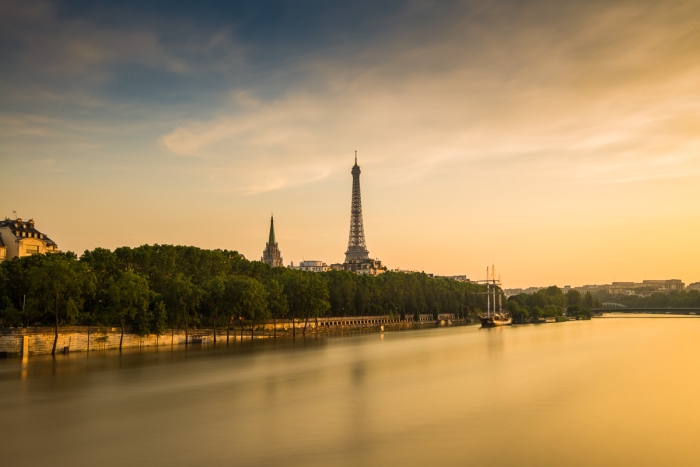
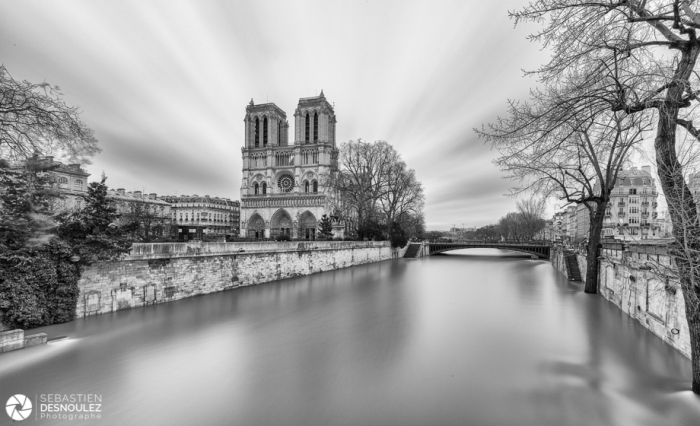
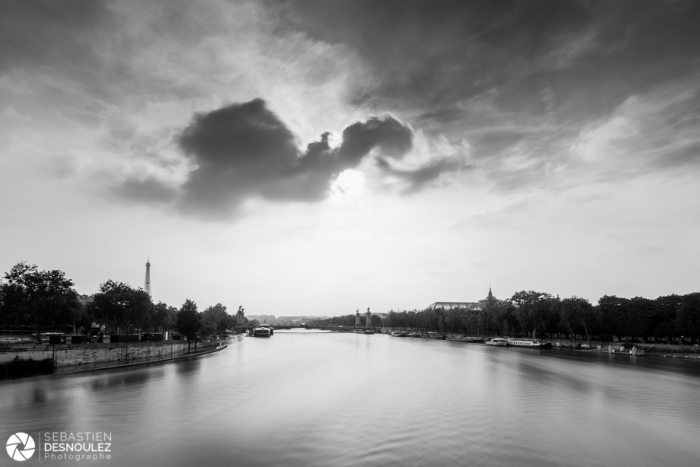
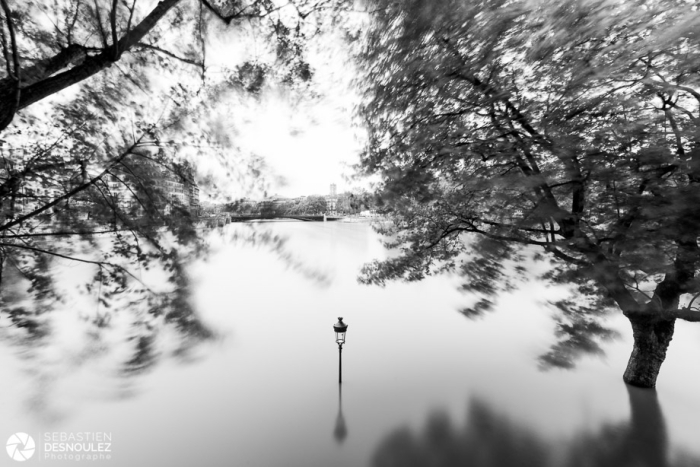
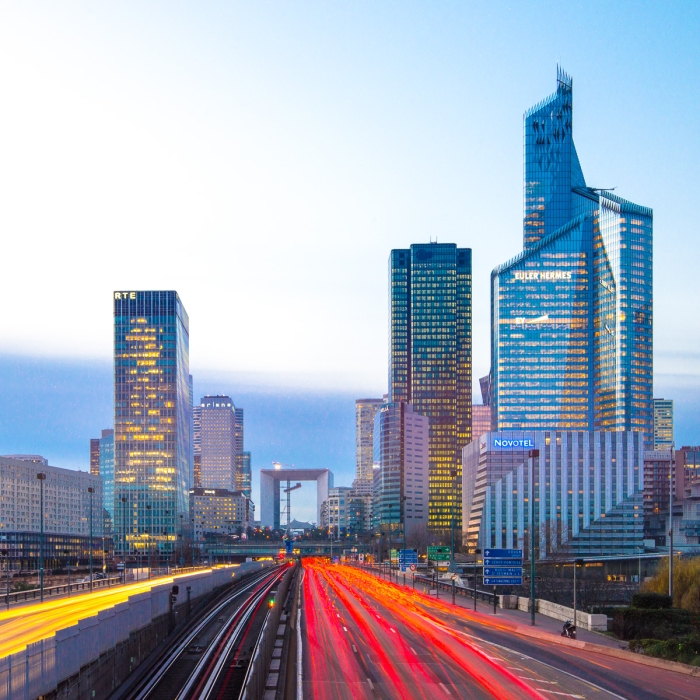
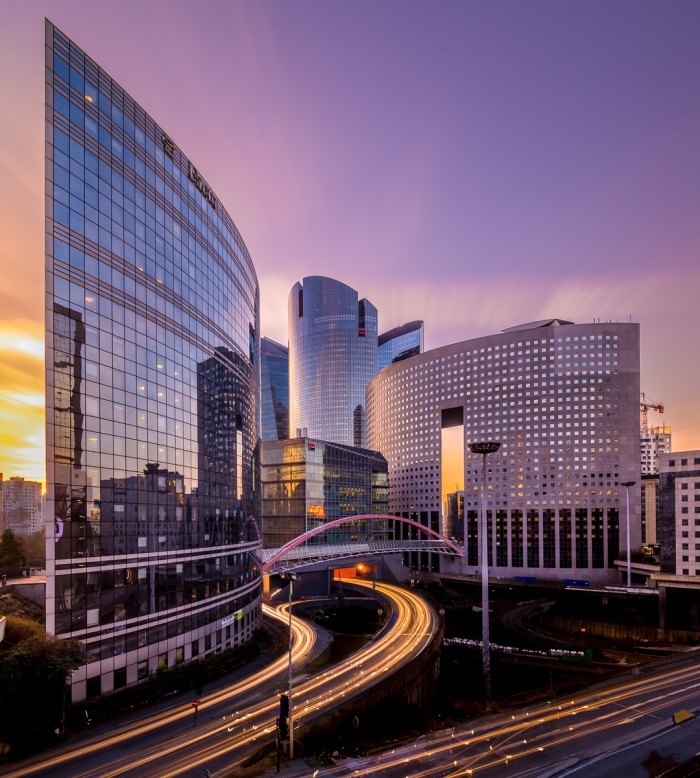
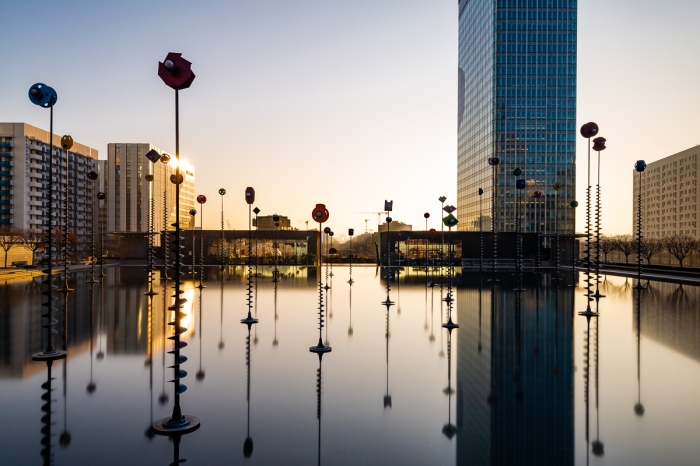
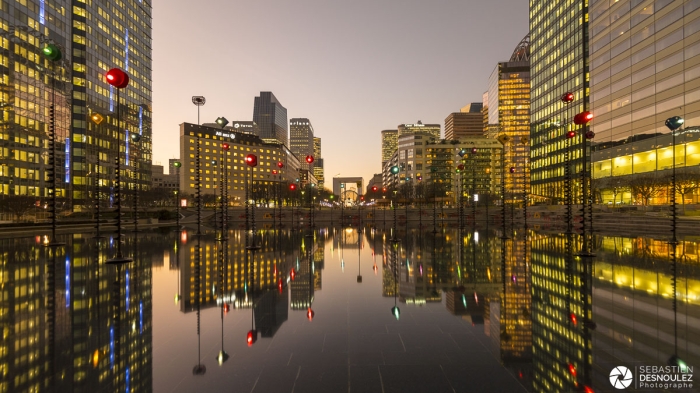
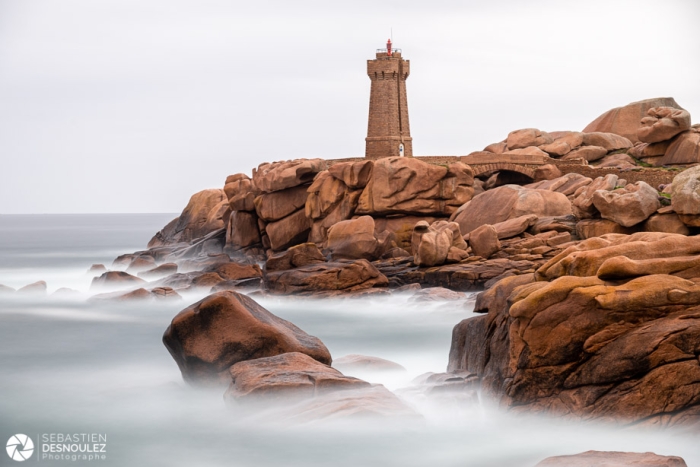
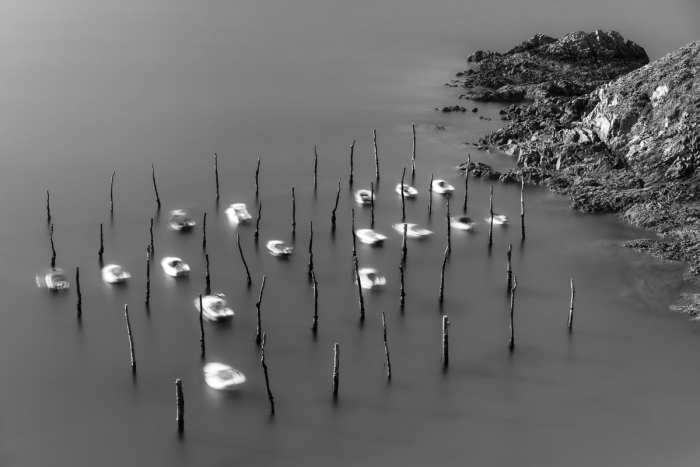
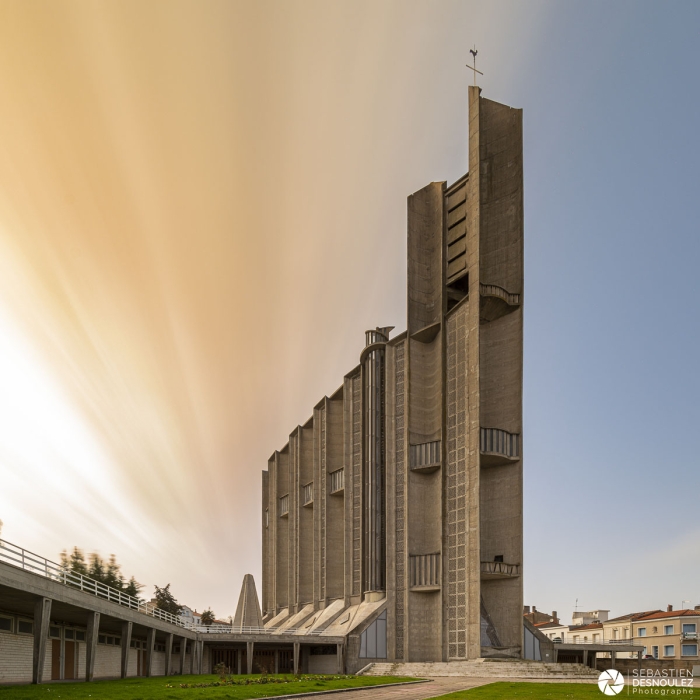
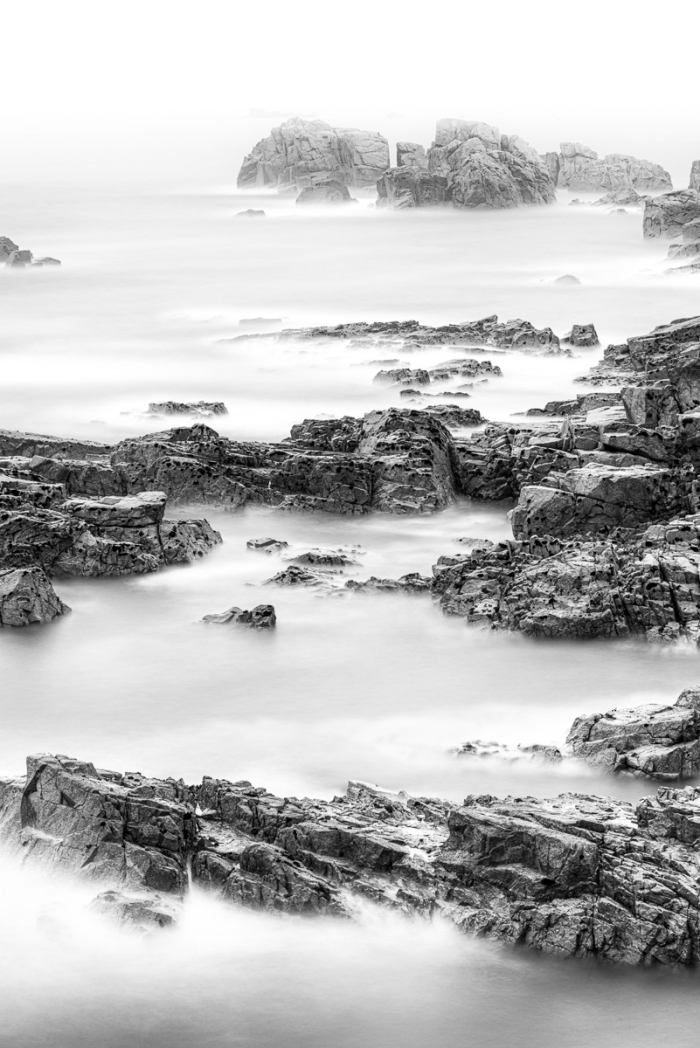
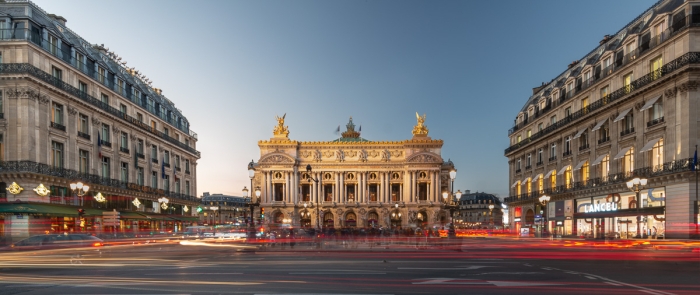
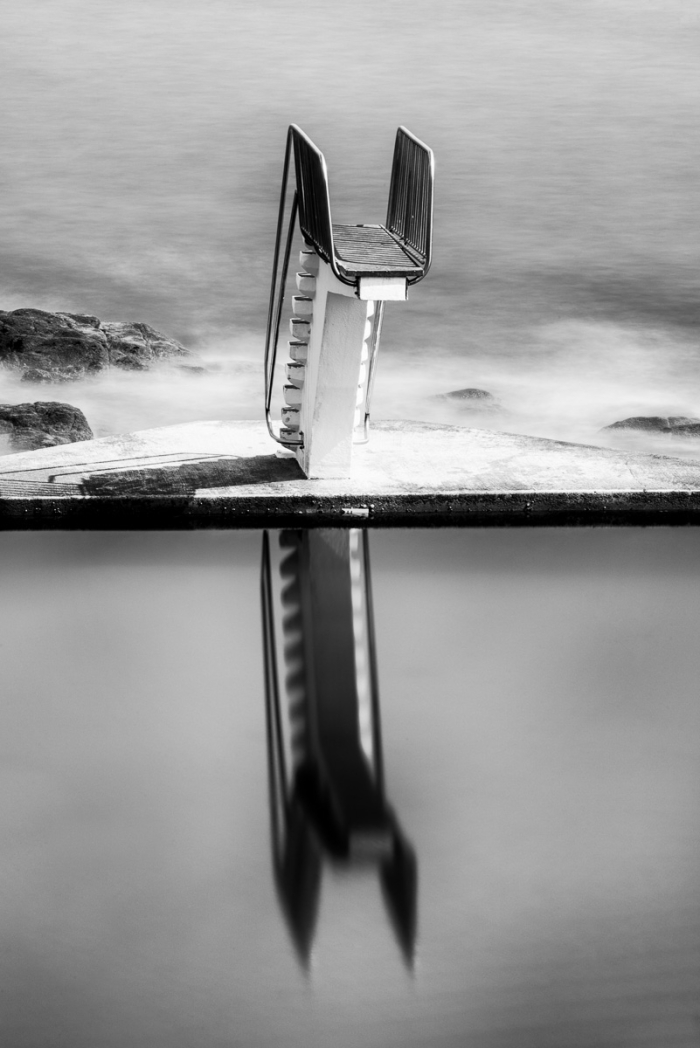
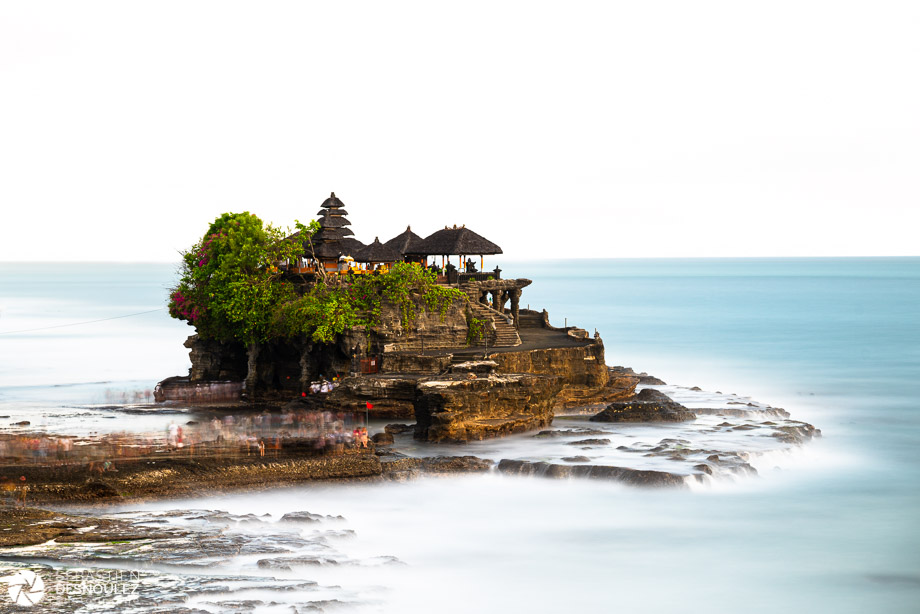
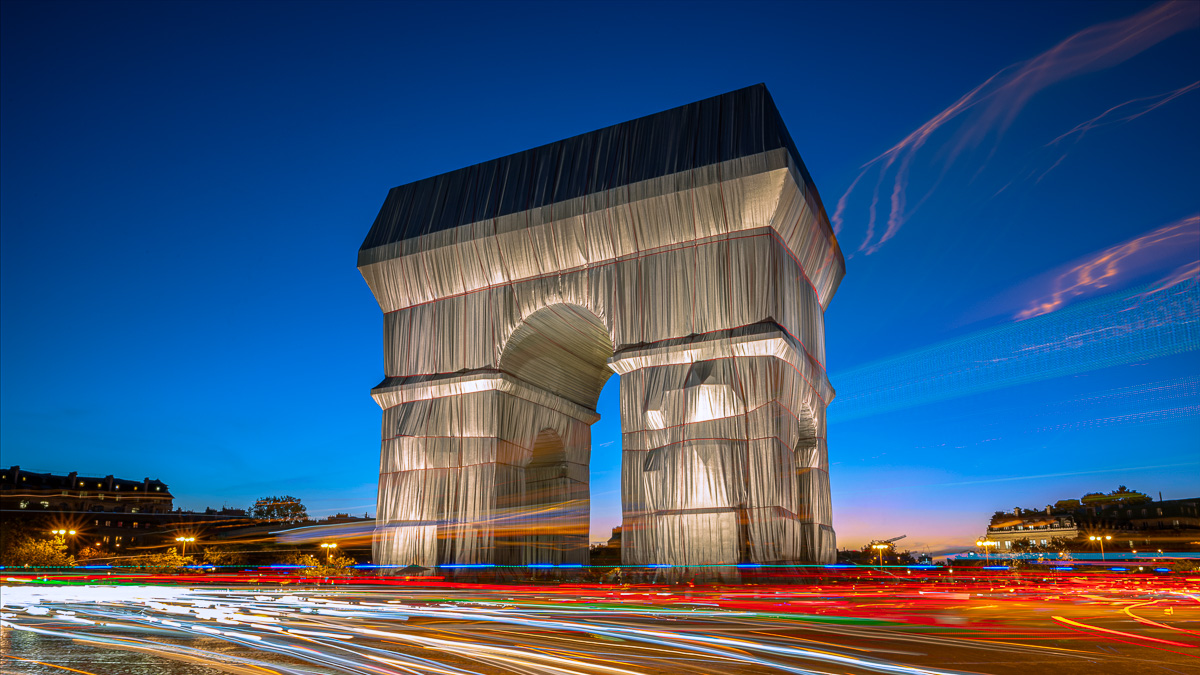
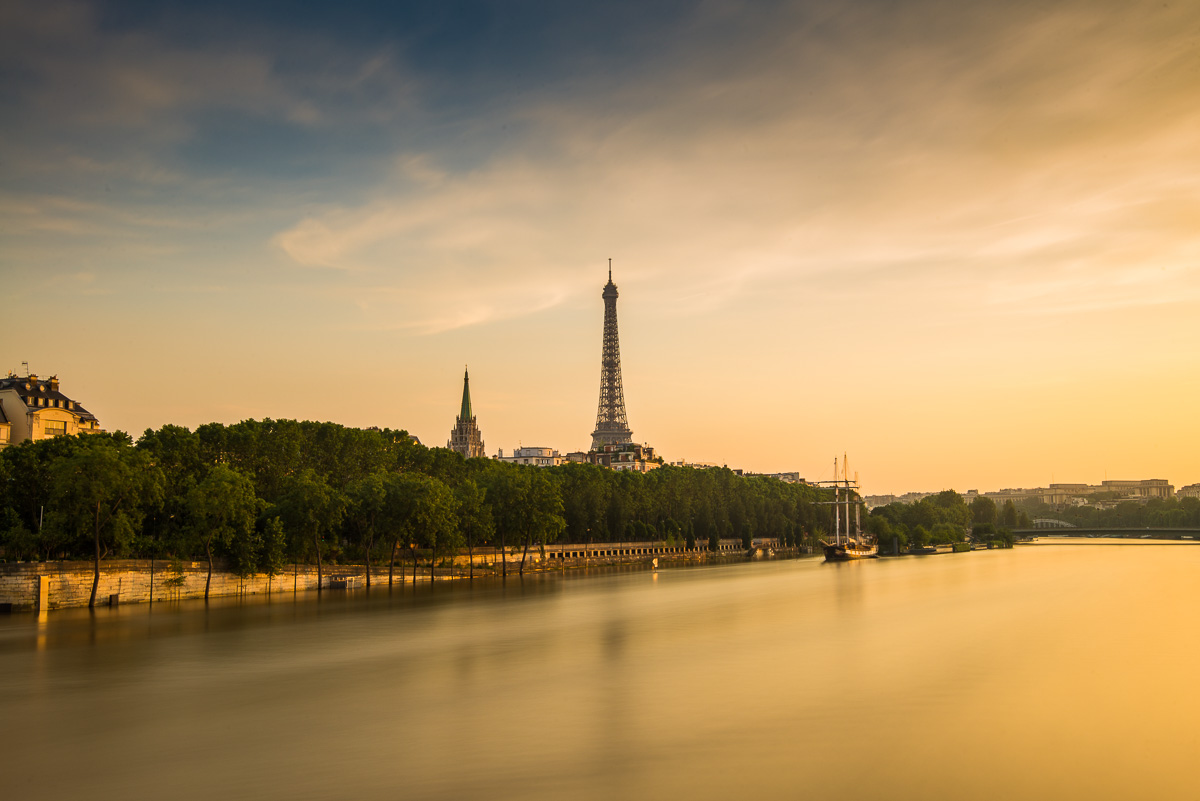
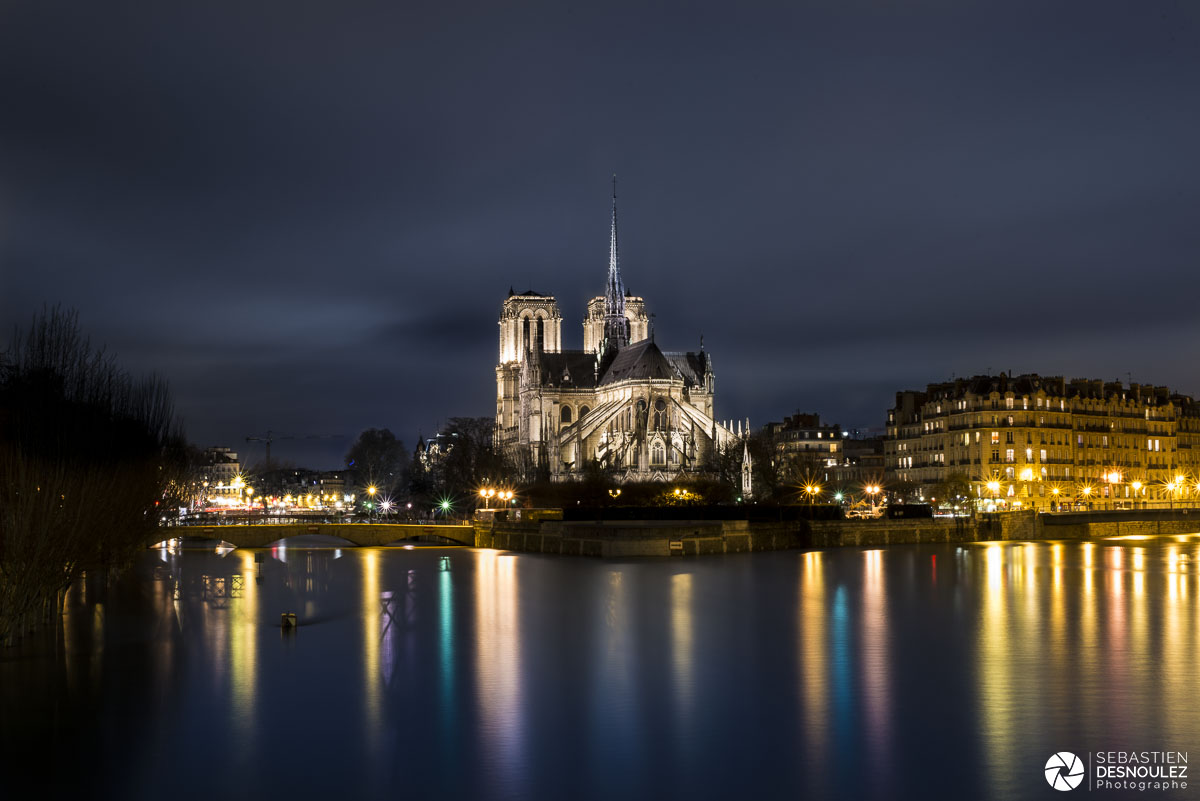
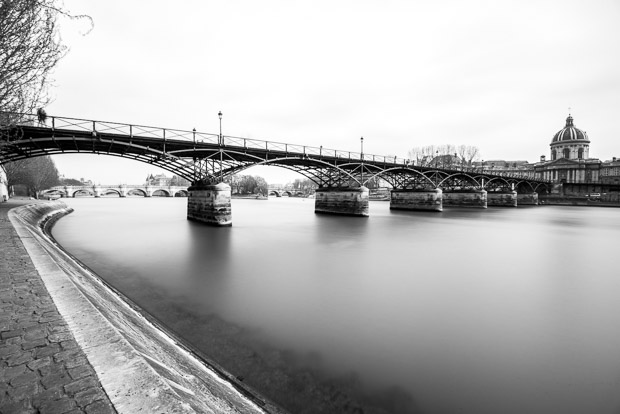
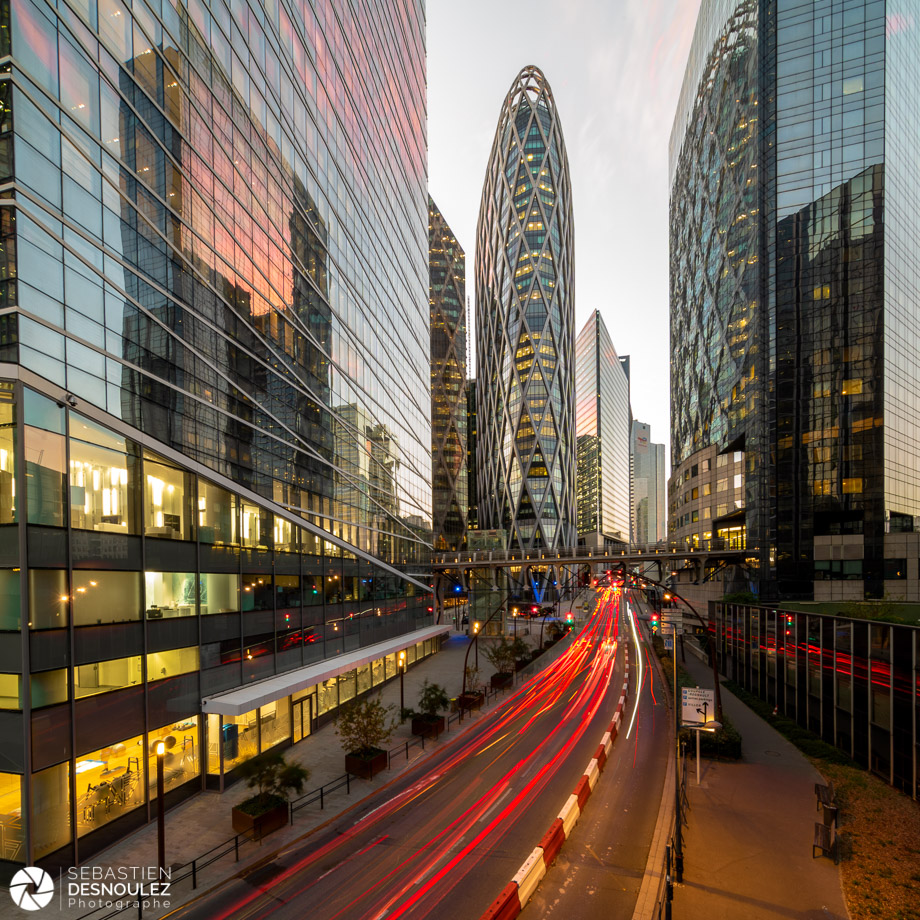
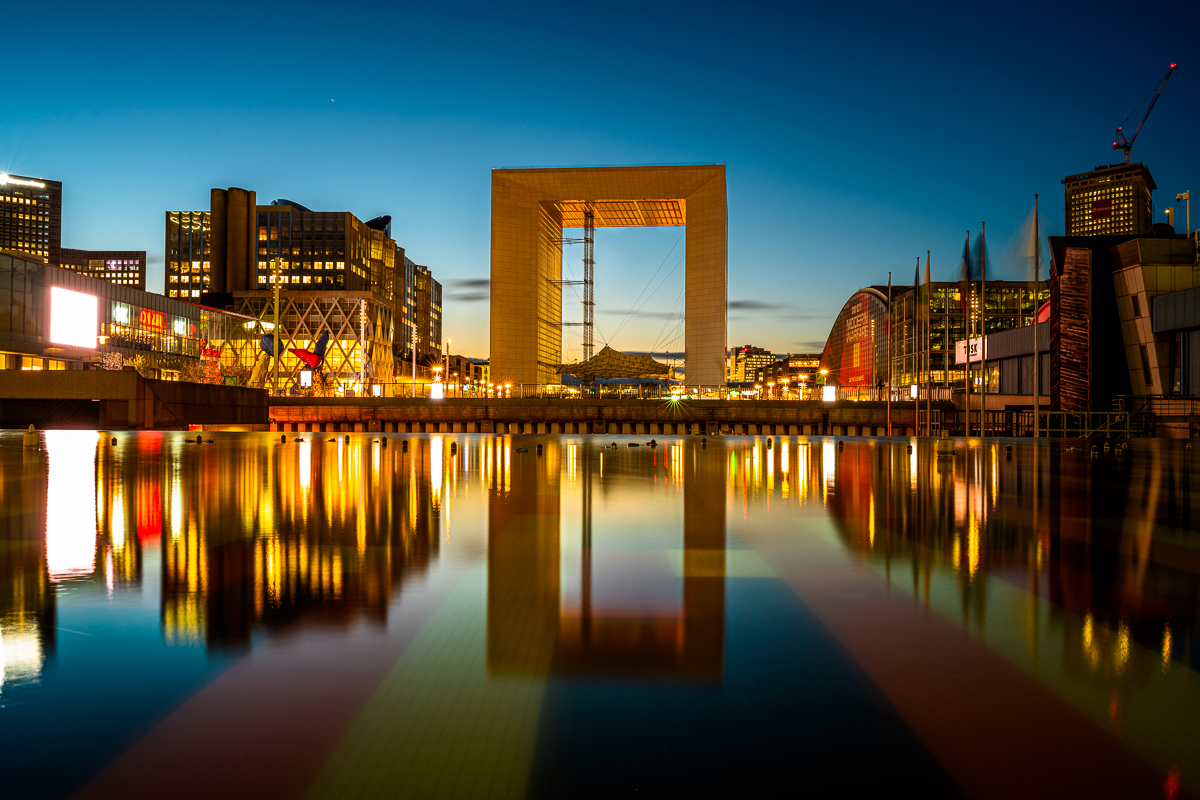
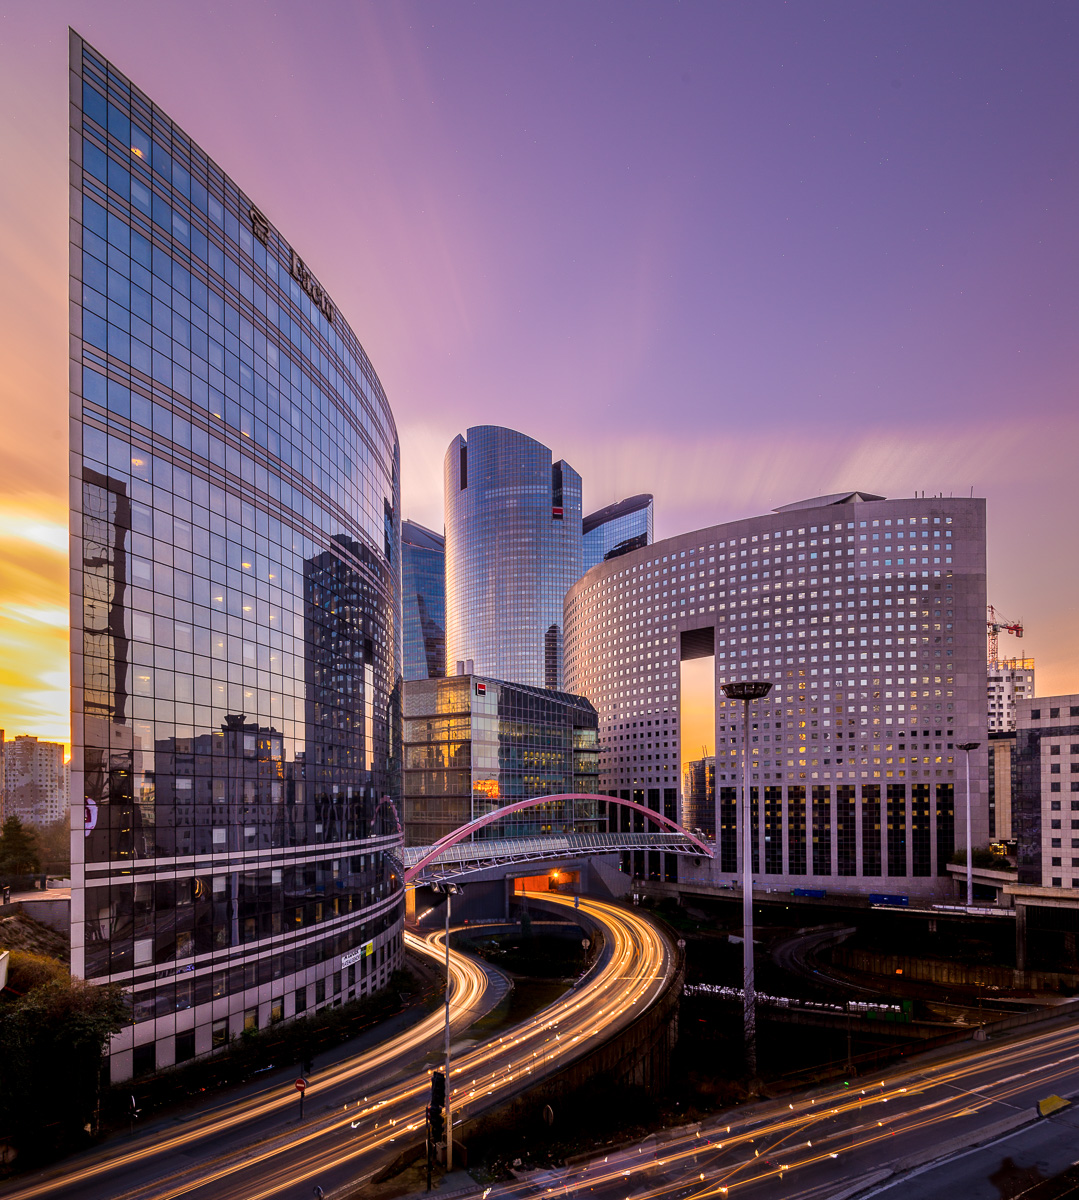
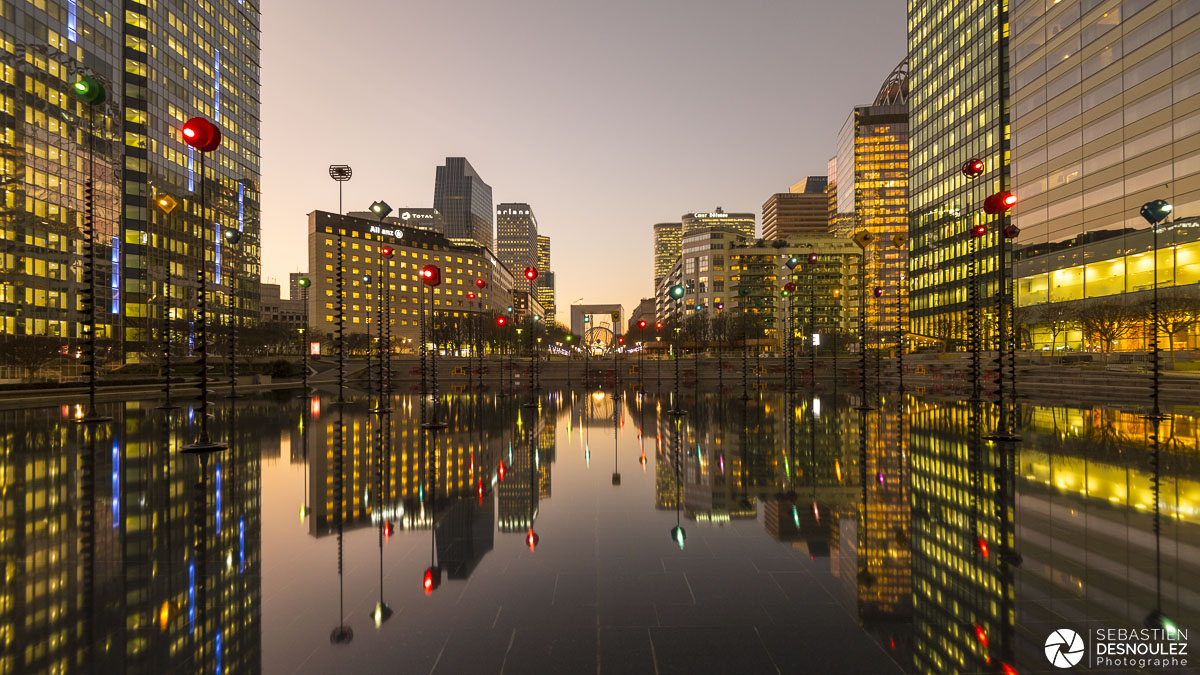
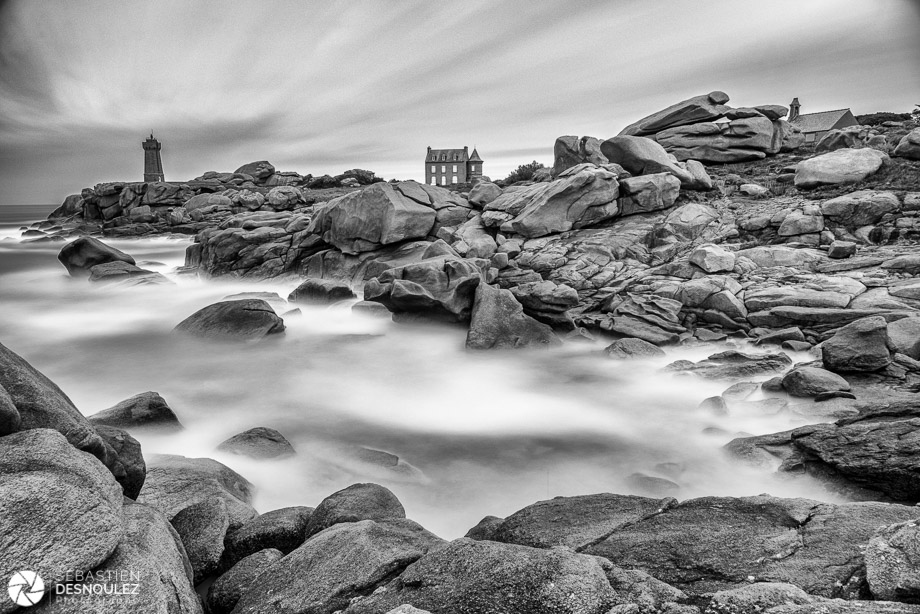
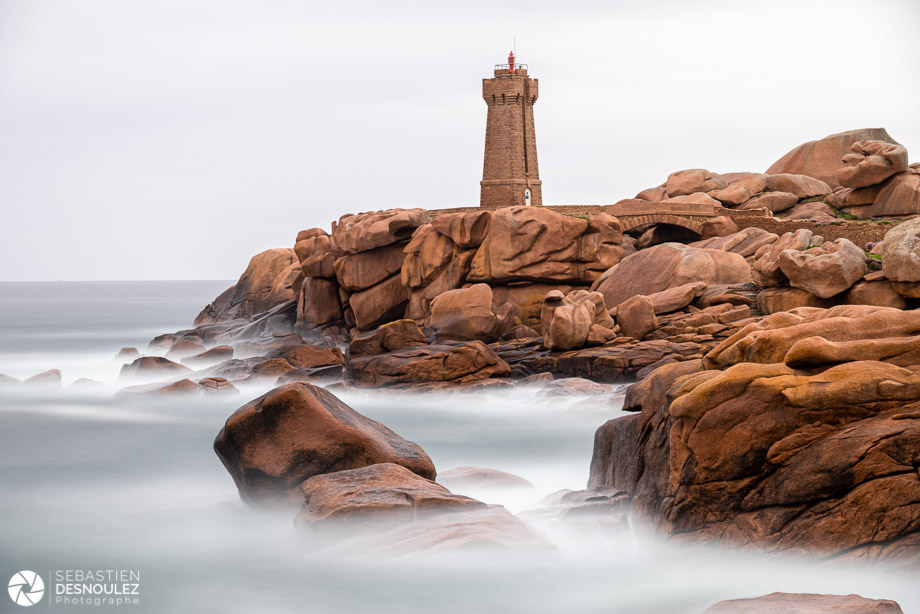
Long Exposure Examples
Click the photos below to view them full screen.


All photos on this site are © Sebastien Desnoulez. No use allowed without written authorization.
Legal notice
About the Author
Sebastien Desnoulez is a professional photographer specializing in architecture, landscape and travel photography. Trained in photography in the mid-1980s, he covered Formula 1 races and reported from around the globe before devoting himself to a more demanding fine art photography practice blending composition, light and emotion. He also shares his technical expertise through hands-on articles for passionate photographers, built on a solid background in both film and digital photography.
FAQ
What ND filter should I use to smooth water?
An ND1000 is ideal for shutter speeds between 20 and 60 seconds, producing silky water and cloud streaks in most daylight situations.
Can I stack multiple ND filters?
Yes, stacking is possible—for example combining an ND64 and an ND1000—but it can introduce vignetting and flare. For critical work, a single high-density ND is preferable.
Do ND filters affect image sharpness?
Low-quality filters can reduce sharpness or introduce color casts. High-quality multi-coated filters preserve optical performance.
Tags


