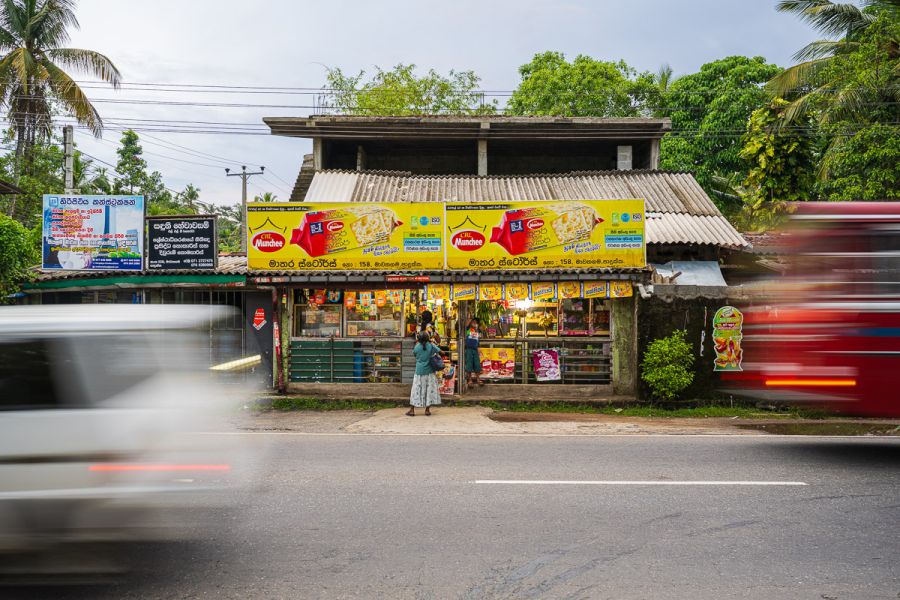
Auto ISO in Photography: Mastering Exposure with Flexibility
Auto ISO has become an essential tool in digital photography. It allows the camera to instantly adapt to changes in light, while leaving full control of framing, shutter speed or aperture to the photographer. Here's a complete guide to understanding how it works, its advantages, and when to use it effectively.
Table of Contents
- Exposure Triangle: Shutter Speed, Aperture, ISO
- Exposure Modes Evolution Since the 1960s
- Why Use an Automatic Mode?
- A, S, M, P Modes: Logic and Field Experience
- Auto ISO Mode: How It Works, Pros and Cons
- Personal Experience
- Conclusion
- FAQ
Exposure Triangle: Shutter Speed, Aperture, ISO
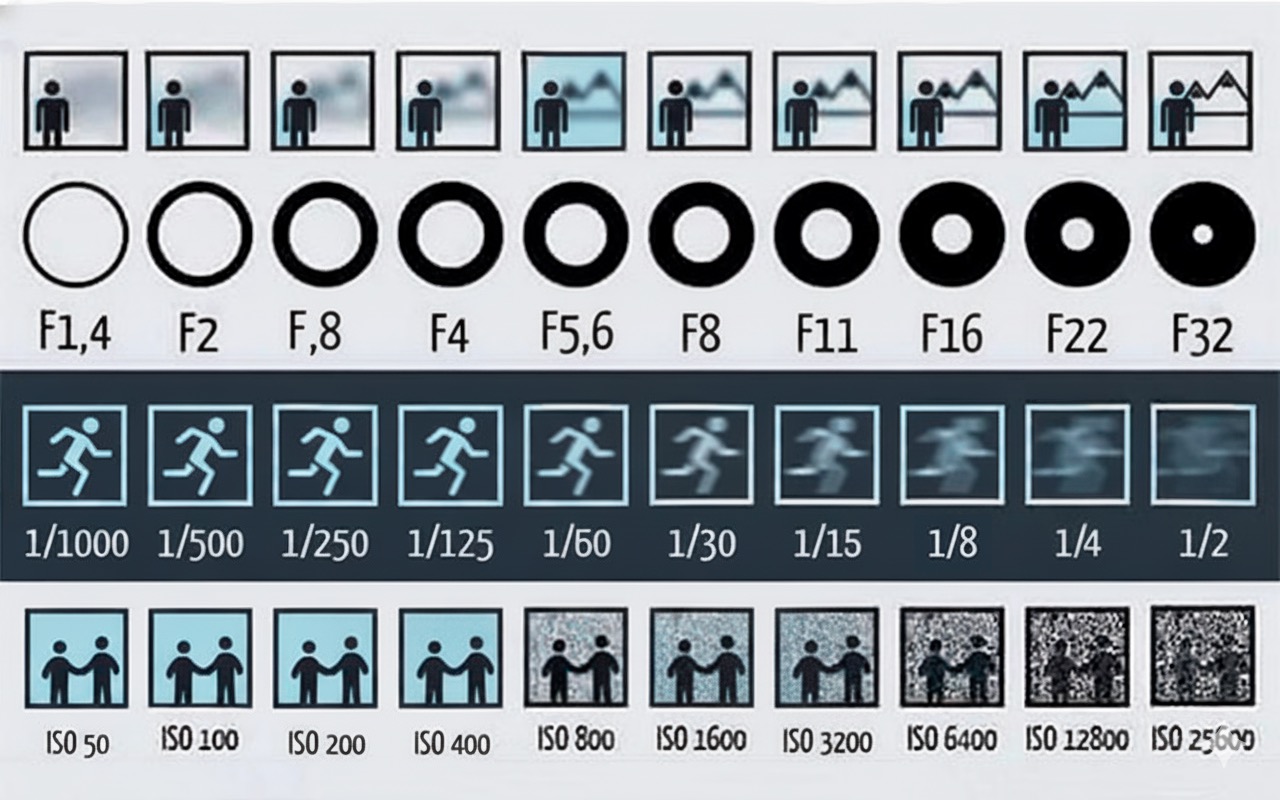
Photography exposure is based on balancing three key parameters:
- Shutter speed determines how long the sensor is exposed to light. A fast speed (1/1000s) freezes motion, while a slow speed (1/30s) creates motion blur.
- Aperture, expressed as an f-number (f/2.8, f/8, etc.), controls both the light entering the lens and the depth of field. A wide aperture creates background blur; a narrow one ensures sharpness front to back.
- ISO sensitivity affects how sensitive the sensor is to light. A low ISO (100) yields clean images, while a high ISO (3200) adds noise but enables shooting in low light.
Exposure Modes Evolution Since the 1960s
Early cameras were fully manual. Photographers used handheld light meters, then manually adjusted aperture and shutter speed.
- 1965 - Nikon F Photomic: first model with a built-in light meter. Exposure remained manual, but an internal needle helped indicate correct exposure.
- 1972 - Nikkormat EL: Nikon’s first camera with aperture-priority auto mode. The photographer set the aperture, and the camera chose the shutter speed.
- 1978 - Nikon FE: improved exposure metering with refined aperture priority.
- 1981 - Canon AE-1 Program: Canon’s first model with a Program (P) mode.
- 1983 - Nikon FA: first SLR offering all four modern modes: M (Manual), A (Aperture Priority), S (Shutter Priority), P (Program).
- 1986 - Canon T90: brought these modes together with LCD ergonomics and automation.
Why Use an Automatic Mode?
When light conditions change quickly, clouds, interiors, golden hour, it becomes difficult to adjust settings manually. The same applies when your subject moves unpredictably.
In such cases, semi-automatic modes (A, S) combined with Auto ISO are extremely effective. They let you focus on composition and the decisive moment rather than technical numbers in the viewfinder.
A, S, M, P Modes: Logic and Field Experience
Mode A (Aperture Priority – Av on Canon)
The photographer sets the aperture (e.g., f/1.8 or f/5.6) and the camera selects the appropriate shutter speed. Ideal for controlling depth of field:
- f/2.8: sharp subject, blurred background (portrait, wildlife)
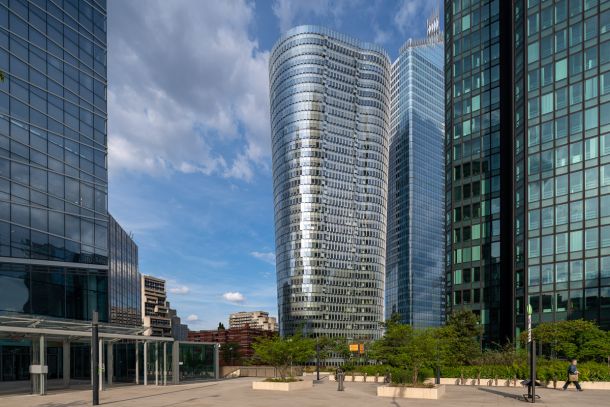
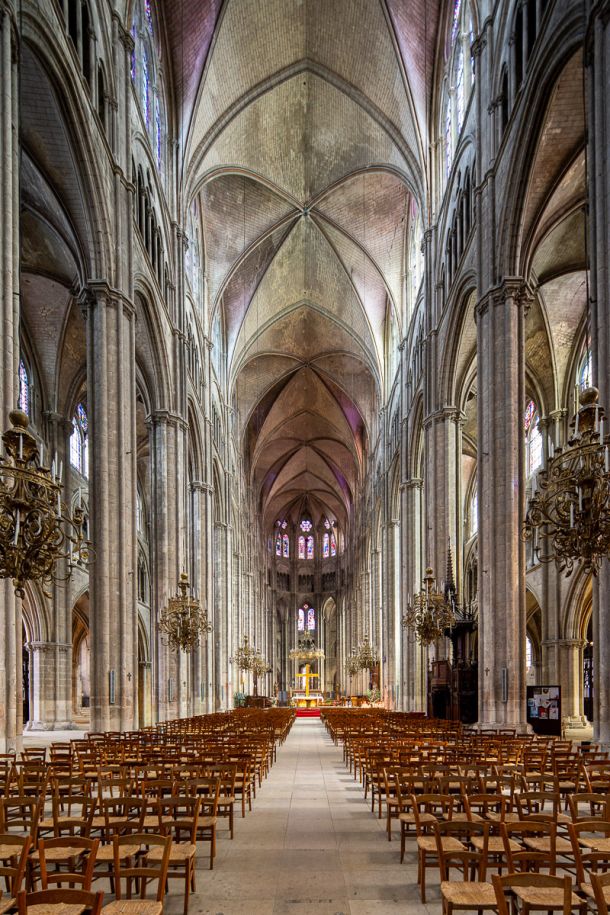
- f/11: greater depth of field (landscape, architecture)
Mode S (Shutter Priority – Tv on Canon)
You choose a shutter speed, and the camera adjusts the aperture accordingly.
- 1/500s to freeze motion (car, animal, cyclist)
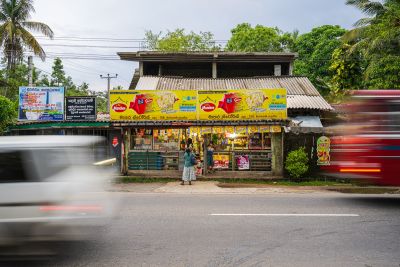
- 1/125s or 1/60s for intentional motion blur or panning
Mode M (Manual)
Full control over both shutter speed and aperture. Useful for long exposures, tripod work, or high-contrast scenes where you want to expose for the highlights.
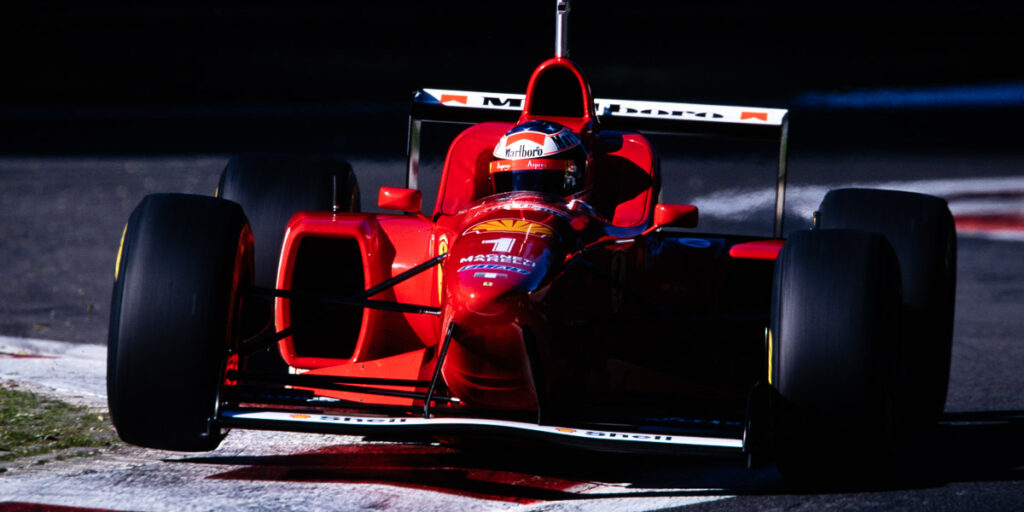
Highlight-based exposure measured with a handheld meter — Michael Schumacher, Ferrari – Italian GP 1996 — Photo: © Sebastien Desnoulez
Mode P (Program) - Personal Experience
In 1990, I briefly tested Program mode on my Canon EOS-1 film camera. It would suggest an aperture/shutter combination based on the focal length, e.g., 1/200s with a 200 mm lens. A control dial let you shift this combination, but I never found the mode useful. I quickly returned to A and S modes, which better suited my photojournalistic needs.
At that time, TTL metering lacked precision, especially when shooting slides, which have very narrow exposure latitude. I often used a Minolta Autometer IIIF or Sekonic L-308 handheld meter to get more reliable readings. Nikon’s F5 with matrix metering marked a real step forward.
A Note on Metering
Auto ISO won’t help if the metering is off. Depending on your scene, you may need to switch from matrix (evaluative) metering to center-weighted or spot metering, especially in backlit or high-contrast situations. Selecting the appropriate metering mode is essential to make the most of your automation.
Auto ISO Mode: How It Works, Pros and Cons
Auto ISO lets the camera automatically adjust sensitivity based on your settings (aperture, shutter speed), acting as a third variable to maintain correct exposure in changing light.
Auto ISO in Mode A
You set an aperture (e.g., f/11 for sharpness). The camera adjusts shutter speed as light changes… but when shutter speed gets too low, ISO increases to maintain a minimum acceptable speed (e.g., 1/40s with a 40 mm lens).
Auto ISO in Mode S
You choose a shutter speed (e.g., 1/500s to freeze motion). The camera opens the aperture as much as possible, then raises ISO once the lens hits its maximum aperture.
Auto ISO in Mode M
You lock both shutter speed and aperture. The camera adjusts ISO to expose correctly. This is extremely useful in fast-changing scenarios like street or action photography.
Personal Experience
After 15 years shooting film with demanding stocks (Kodachrome, Velvia), I switched to digital with the Nikon D1. Early on, I stuck to manual or semi-auto modes without Auto ISO, as digital noise was still an issue.
With the Nikon D610, noise control greatly improved. That’s when I began using Auto ISO, especially in A or S mode, for dynamic subjects. Today, I shoot exclusively in RAW, and Nikon Z cameras offer such reliable metering that I can focus entirely on the image itself.
I disable Auto ISO only when:
- doing long exposures on a tripod (Manual + fixed ISO)
- shooting high-contrast scenes where I expose for the highlights
Conclusion
Auto ISO isn’t a crutch, it’s a smart, powerful tool that complements your control as a photographer. It anticipates shifts in light without taking away creative intent. Used wisely, it offers great flexibility, especially in street, nature, sports, or travel photography.
Remain in control of your choices, but let the camera assist you where it performs best: adapting quickly to changing light conditions.
All the photos displayed on this website are copyright protected © Sebastien Desnoulez. No use allowed without written authorization.
Legal notice
FAQ: Auto ISO mode in photography
Does Auto ISO reduce image quality?
Auto ISO by itself does not reduce image quality. What affects the image is the maximum ISO value that is reached. The higher the ISO, the more visible the digital noise. The whole point of Auto ISO is to let you define a realistic ISO ceiling for your camera, then let the body handle light variations within that range.
Which exposure mode should I use with Auto ISO (A, S or M)?
In practice, Auto ISO works very well in A mode (aperture priority) when you want to control depth of field, and in S mode (shutter priority) when you need to freeze or suggest motion. In M mode, you lock both shutter speed and aperture, and the camera only adjusts ISO. That is an efficient solution for street or sports photography when light changes quickly but you want to keep a consistent rendering.
How do I choose the minimum shutter speed in Auto ISO?
The minimum shutter speed should reflect both your focal length and your subject. For static subjects, you can stick close to the classic 1/focal length rule (for example 1/50s with a 50mm), relying on in-body stabilization if available. For moving subjects (sports, reportage, everyday action), it is safer to set a higher minimum shutter speed (1/250s, 1/500s or more) and let ISO rise when needed.
Should I turn Auto ISO off when shooting on a tripod?
Yes. As soon as you are working on a tripod with long exposures (landscape, architecture at night, creative motion blur), it is better to disable Auto ISO and lock a low value (ISO 64, 100 or 200). In that case, shutter speed becomes the main variable, and you get optimal image quality without unnecessary noise.
Can I use exposure compensation with Auto ISO?
Absolutely. In A and S modes, and even in M with Auto ISO on some cameras, exposure compensation remains available. It lets you tell the camera to render the scene brighter or darker (for example +1 stop in backlight) while keeping your chosen shutter speed and/or aperture. ISO then becomes the parameter that shifts around this target.
Does Auto ISO behave differently in RAW and JPEG?
The way Auto ISO works is identical in RAW and JPEG: the camera selects an ISO value to achieve what it considers correct exposure. However, RAW gives you more latitude to adjust exposure and recover highlights or shadows in post-processing, which makes shooting with Auto ISO more comfortable for photographers who like to fine-tune their files.
When is it better to avoid Auto ISO?
It is better to avoid Auto ISO whenever you need full control over every parameter: long exposures, night architecture, high-contrast scenes where you deliberately expose for the highlights, or studio work with fixed lighting. In these situations, a fixed ISO and fully manual settings remain the most coherent approach.
About the Author
Sebastien Desnoulez is a French architectural, landscape, and urban scene photographer with over 40 years of experience. Trained in the era of film, he covered major motorsport events in the 1990s before moving toward fine art photography. He now documents the evolution of the photographic medium while maintaining a demanding practice, one that blends technical rigor with poetic vision.
Tags
I am represented by the gallery
Une image pour rêver
